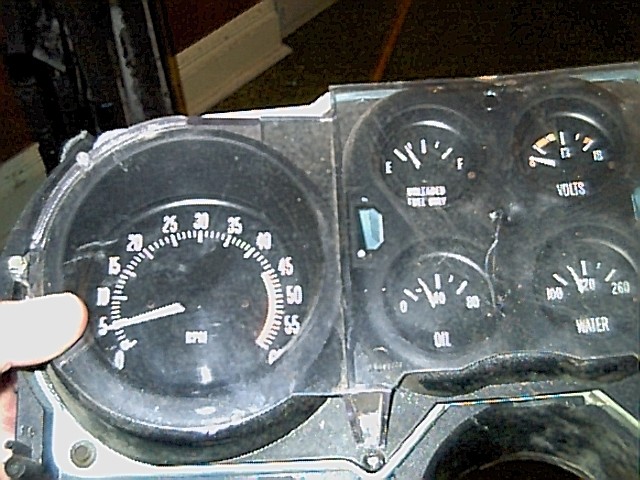
OK, so you like the look of having the optional stock tach where that giant fuel gauge is on your truck, eh? Yeah, me too. However, they seem to be pretty rare as you probably already found out. The clusters can be had on eBay if you don't mind paying $100+ for one.
The solution is to find a tach and fuel gauge from some other GM vehicle. I believe mine came out of a late seventies/early eighties Monte Carlo. I'm not sure, it was something my Dad pulled out of one of the cars he parted out.
While you're at the junkyard, find a cluster like yours to
modify. This way if you monkey it up, no big deal. Mine happened to be
the kind with electronic cruise control. If you don't have the clock,
find one with the clock. It'll make installation of the little fuel
gauge easier in the long run. I also recommend finding a new lexan
piece that doesn't have a hole in it for setting the clock. If yours
had the parking brake light there then you've got the lexan you need.
Anyway, you'll find out GM wasn't nice enough to mount the
fuel tach the same as what your fuel gauge is. The solution is to
butcher your fuel gauge face and then glue the tach to your fuel gauge.
You're going to lose the Parking Brake and Seatbelt idiot lights. If
you need these, too bad, the tach will look retarded if you cut it out
for the idiot lights.
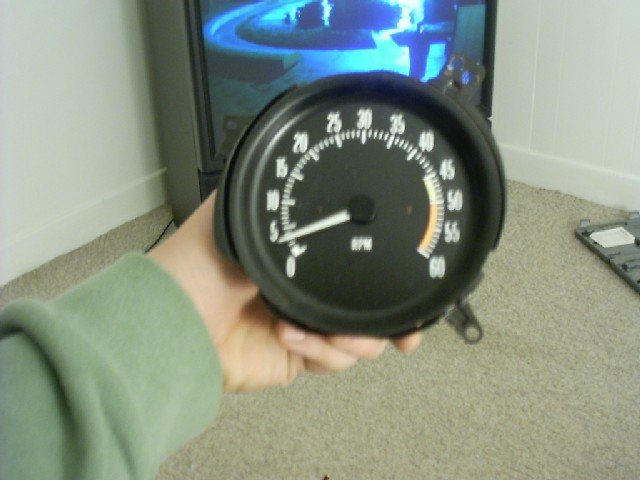
A dremel tool does the job nicely. Don't forget to do multiple
trial fits. You want it centered perfectly.
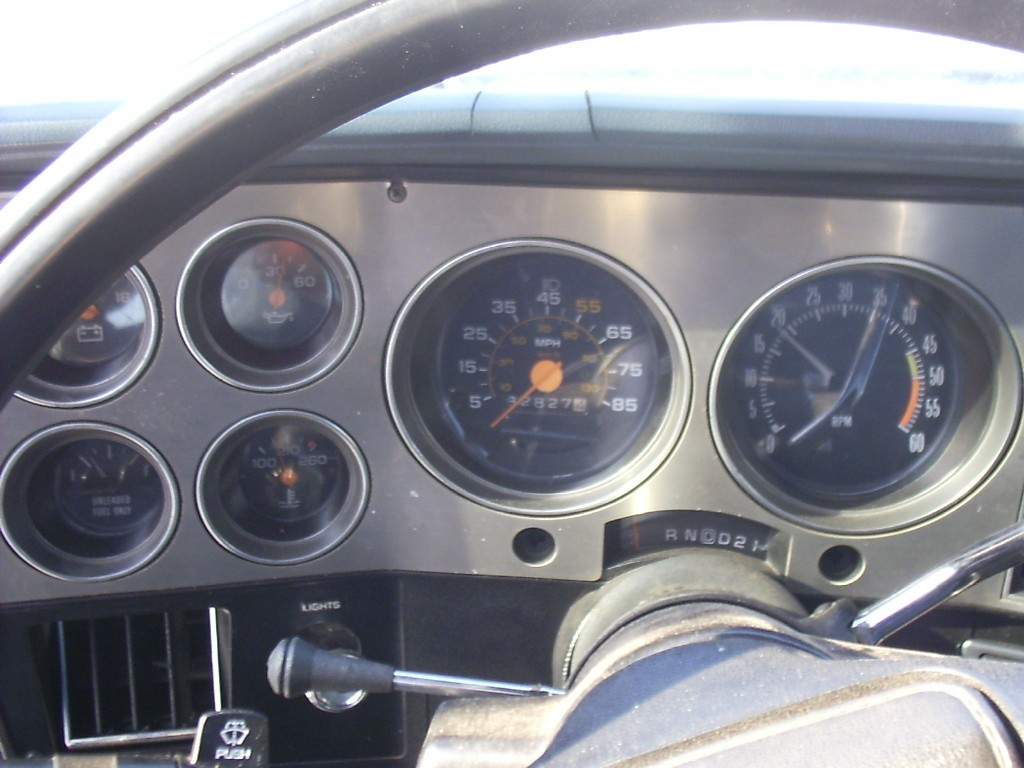
And the picture of the finished product...
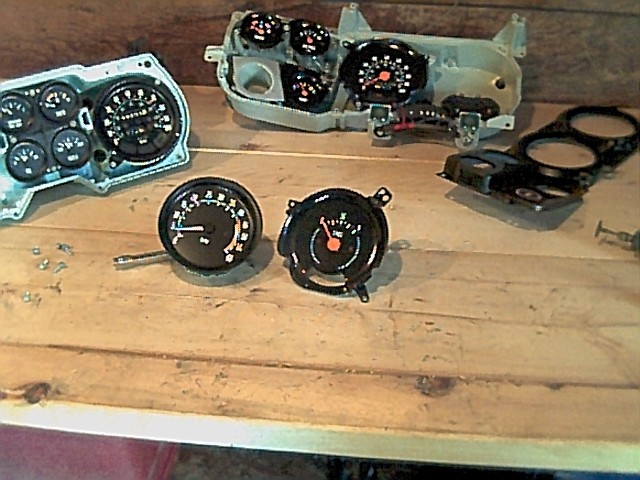
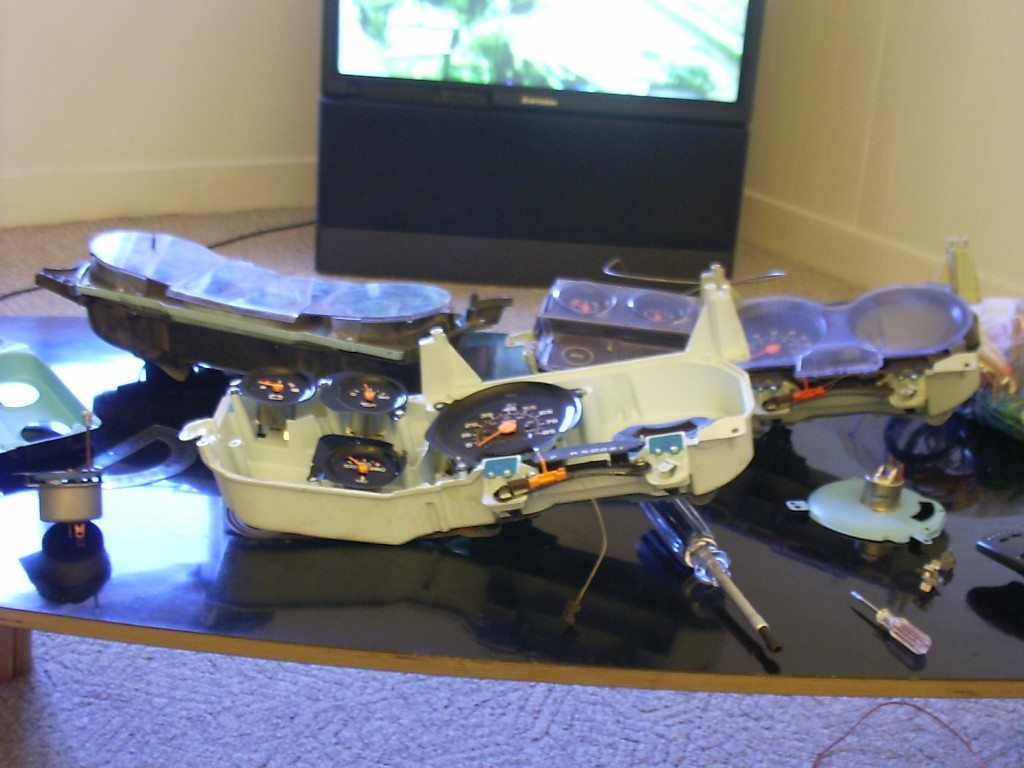
OK, so the tach is taken care of. Next, it's time to start
playing with sticking stuff in the cluster. The clock is the thing in
the lower left corner of the picture. The fuel gauge over there on the
right is no longer needed.
Next is that pesky little fuel gauge. This is the most
difficult part. The clock mounts to the cluster in a peculiar way.
There is a little plate that the body of the clock connects to that is
bolted to the cluster. From that plate the face of the clock is raised
about 1/4". Since I didn't have time to play around with raising the
fuel gauge I ignored that 1/4" difference in height (which will cause
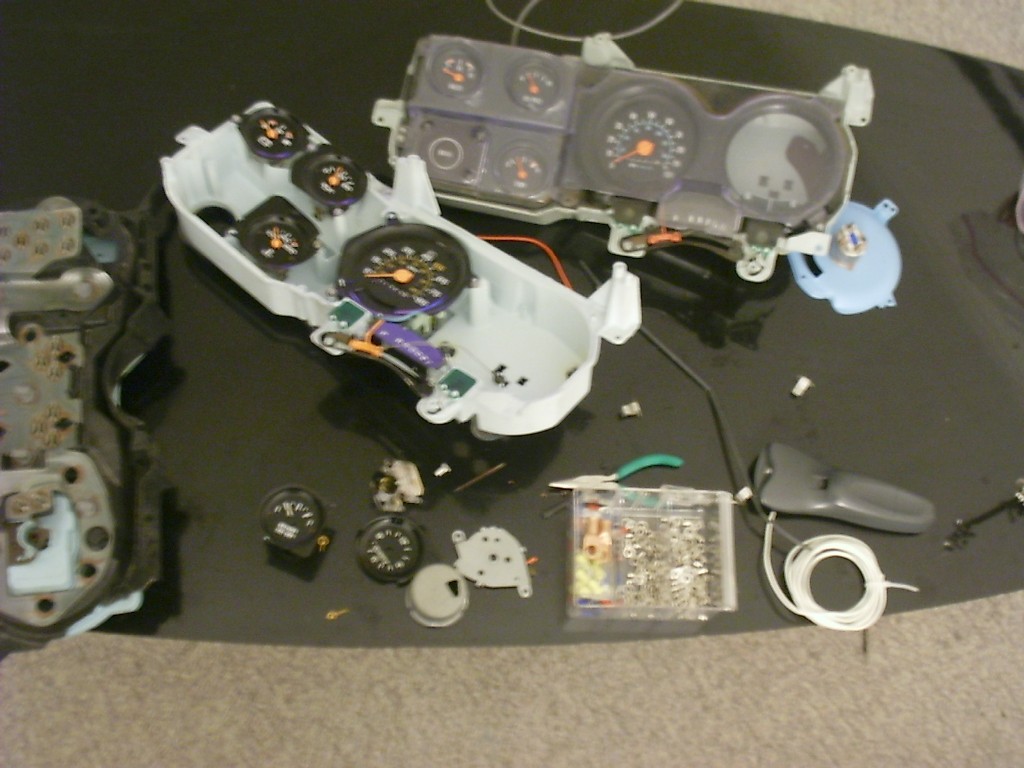
the gauge to be recessed and will get more light). Anyway, after
disassembling the clock I cut up the bracket. I modified it so the
gauge set in it and then hot-glued it in place. That means that the
bracket actually ended up in two pieces. I never got a picture of the
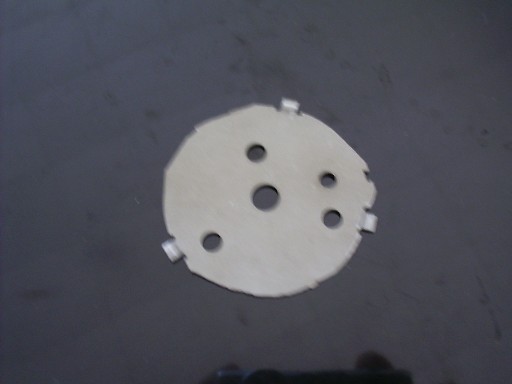
bracket once I modified it due to time constraints. However, the
unmodified bracket is in the picture next to the parts bin. I did take
a picture of the bracket leftovers and it's here.
You can also see the cluster I'm going to steel the lexan off below.
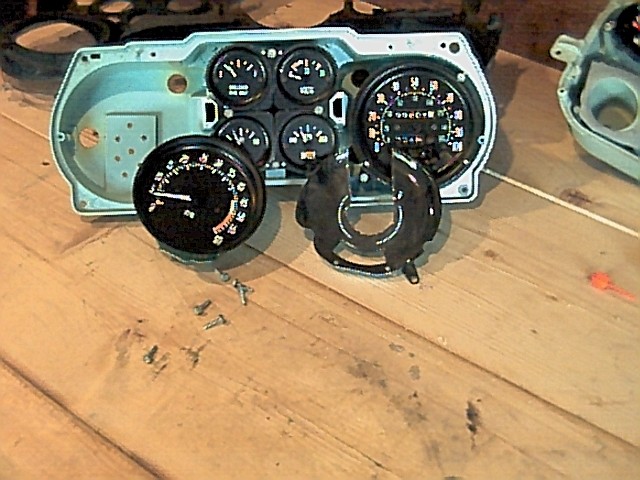
Next involved cutting the cluster so the tach would fit in where the fuel gauge was. That means hacking out the spots where the idiot lights for the parking brake and seat belt went.
As a side note: While doing this you may want to paint the
back side of the black plastic piece flat white so it lights the dash
up brighter. It makes a big difference.

OK, so everything is ready to go in. Next is the wiring. Well, wiring doesn't take a genius but it can be confusing. 99% of tachs you'll find have their own separate pigtail so all you'll have to do is use that to connect to ground, 12v, and the distributor. However, I didn't have the pigtail so I had to wire from scratch.
The first thing you need to do is figure out what terminal does what. I was nice enough to mark what is what on a picture with the big fuel gauge. This will tell you what terminal is what on your old gauge. You'll find that the pink wire is the wire you want running to the sender terminal on your new fuel gauge wire.
Figuring out what terminal is what on the little fuel gauge... Well, GM is nice enough to use the same gauge internals on most of their vehicles from that era. Usually they're all the same gauge just mounted in different configurations with different faces. You have to figure out what terminal is what on your cluster that you stole the tach and little fuel gauge out of. The easiest to figure out is the ground wire. It'll go to the ground side of various instrument lighting bulbs. If it goes to one side of a turn signal bulb it's obvious it's ground. Next easiest is the actual signal receiving terminal. It connects to nothing but the harness. The positive 12v can be tricky. See, GM engineers weren't morons back then and realized they could save space in those flexible circuit boards by hooking a bunch of stuff together. Chances are that positive will be the same positive that goes to such things that switch on ground like the seatbelt light and the parking brake light.
The tach should be pretty easy. It should say on it "12v," "GND," and "coil".
Next is the actual wiring. I connected the 12v of the tach and fuel gauge together and then ran it to the ACCESSORY terminal on the fuse block. For ground, I also connected them and I ran it to chassis ground on the cab. GM was nice enough to leave a ground point with multiple open terminals on the parking brake bracket (or in my case, on the cab since I eliminated my parking brake).
I ran a white wire out to the distributor and connected it to the "tach" terminal. It is very important that you solder, shrink tube, and tape this wire. No crimp-and-forget allowed. Dont' forget to use a grommet on the firewall so you don't end up with a cut wire. You DO NOT want this wire ever grounding out or picking up a positive voltage.
For the fuel gauge I cut into the harness about 4" from the
connector. I'd already been into this because of putting in a switch
for dual tanks. You can also tear apart the connector and plug into it
right there.

And the final product...